")


SoftPI knowledge database contains documents and articles that describe features, configuration and work with SoftPI software products.
 VoiceNib 2.x. User guide
6.4. Subscribers
To record IP calls of a subscriber, it is necessary to enter subscriber’s data into the VoiceNib system. To do this, use the Subscribers page. To go to this page, click on the Subscribers menu item. The Subscribers page without the entered data is shown in Figure 6.4.1.
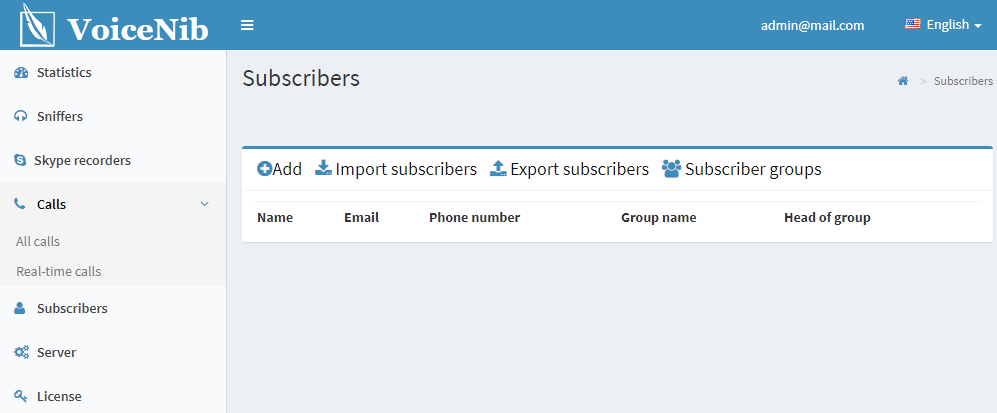
Figure 6.4.1
Subscribers can be divided into groups. To add a new group of subscribers, click the Subscriber groups link. The Subscriber groups page is opened as shown in Figure 6.4.2.
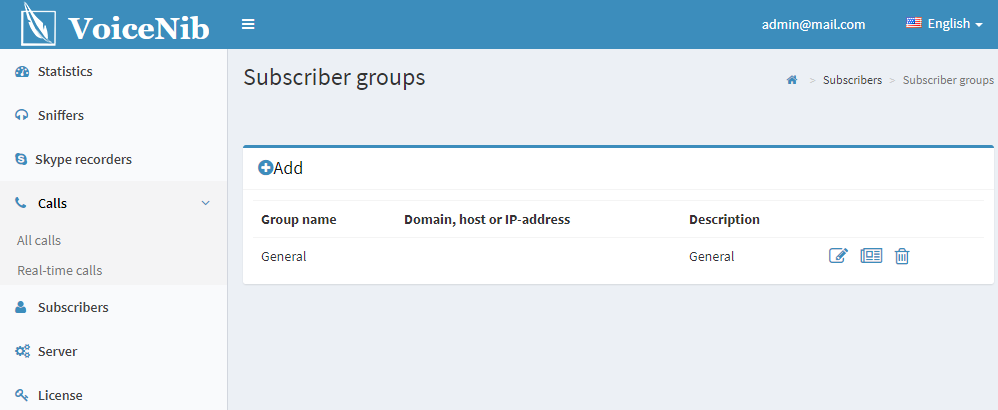
Figure 6.4.2
Click the Add button. The Create page opens as shown in Figure 6.4.3.
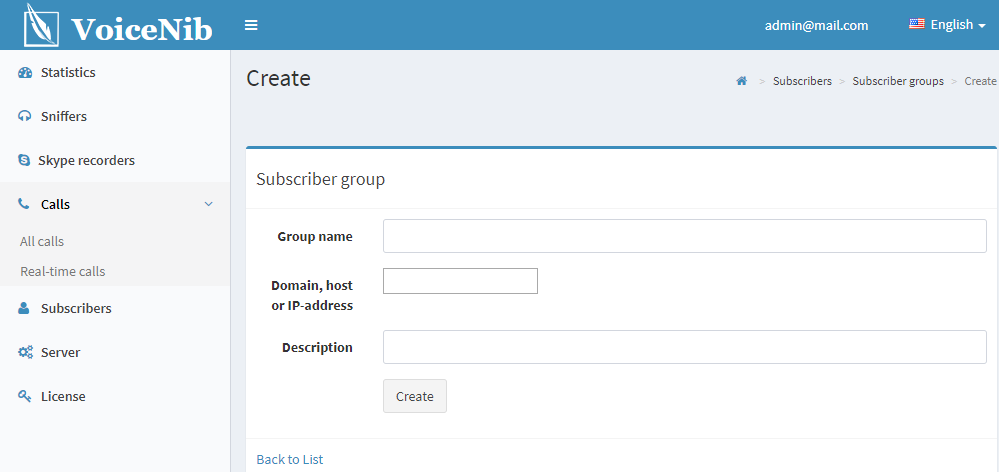
Figure 6.4.3
In the Group name box, enter a name that uniquely identifies the group.
When making calls using SIP, Uniform Resource Identifier (URI or else called SIP URI) is used to identify subscribers. This identifier is usually written in the following formats:
This email address is being protected from spambots. You need JavaScript enabled to view it.
This email address is being protected from spambots. You need JavaScript enabled to view it.
This email address is being protected from spambots. You need JavaScript enabled to view it.
This email address is being protected from spambots. You need JavaScript enabled to view it.
That is, at the first part of SIP URI there is either a number or a name, and after the '@' symbol either a domain name or an IP address is specified. Typically, the company has a group of subscribers using the same IP address or domain name. To eliminate the need to input the corresponding IP address or domain name for each subscriber of the group, you can specify them together with the parameters of the group where the subscriber is included. In this case, it will be sufficient to enter '105' or 'john' for the subscriber of our examples.
If a subscriber of the group will have an IP address or domain name that is different from the IP address or domain name of the group that he belongs to, you need to enter the SIP URI in full format for such subscriber.
In the Domain, host or IP address box, enter the corresponding value, which is typical for most the group's subscribers.
In the Description box, you can enter any additional information about the subscribers’ group.
To save entered data, click on the Create button.
Repeat the above steps to create other groups. An example of the Subscriber groups page with data is shown in Figure 6.4.4.
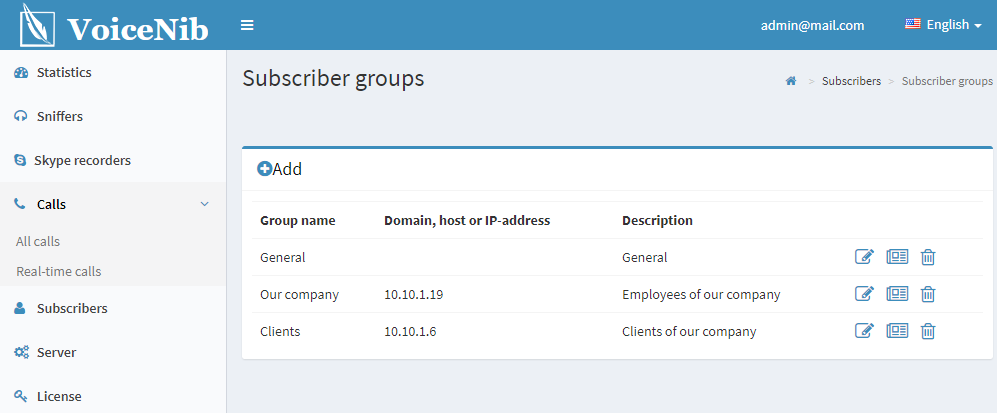
Figure 6.4.4
There are three icons in each line where group data are displayed. Clicking on the icons allows you to edit the data for the group, view data, and delete data. On the group's data view page, there are links that allow you to quickly jump to editing or to a list of groups.
When installing VoiceNib, the default group is created. It is named General. If you do not create new groups, then all subscribers will belong to this group.
After creating groups, you should enter subscribers' data. Both manual input of subscribers' data and their import from an external file are possible. Subscribers’ data can be imported from CSV or Excel files.
To import subscribers from an external file, click the Import subscribers button on the Subscribers page (Figure 6.4.1). The Import Subscribers page opens as shown in Figure 6.4.5.
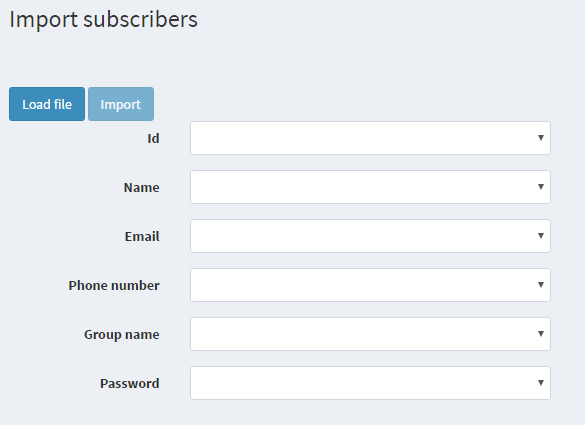
Figure 6.4.5
Click the Load file button. The Download file window appears as shown in Figure 6.4.6.
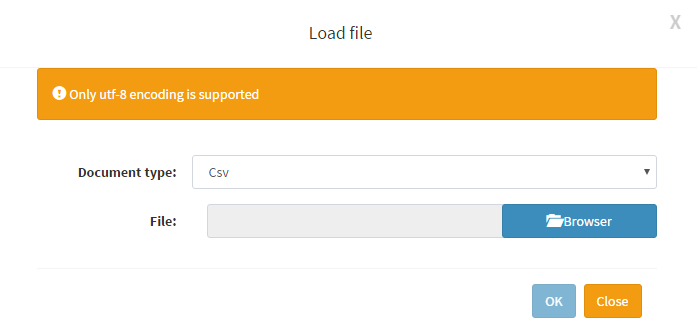
Figure 6.4.6
In the Document type list, select: CSV or Excel.
In the File box, type a path to the desired file, or select it by clicking the Browse button.
Click the OK button. The Import subscribers page (Figure 6.4.5) displays the data of the selected file in the table form. Associate the fields of the VoiceNib database with the corresponding columns of the file. To do this, click on the Name list. The column names of the file are displayed. Select the column that corresponds to the subscriber name. Repeat these steps for other fields (Mail, Phone number, etc.).
Click the Import button. If the operation is successful, the data will be added to the subscriber database.
To manually add subscribers on the Subscribers page (Figure 6.4.1), click the Add button. The Create page opens as shown in Figure 6.4.7.
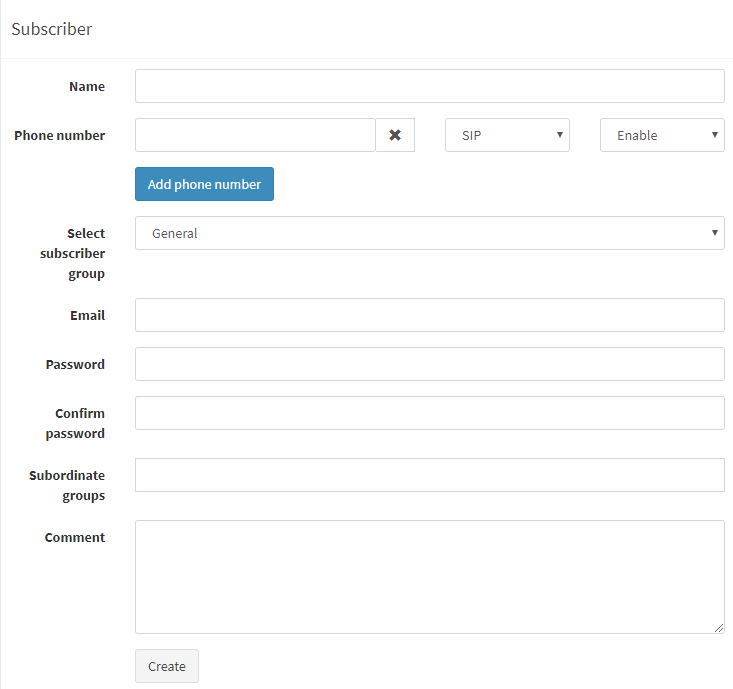
Figure 6.4.7
In the Name box, enter the subscriber’s name.
In the Phone number box, enter the SIP number or Skype name of the subscriber. If a domain name or IP address is assigned to the group of subscribers to which this subscriber belongs, then it is enough to enter only the number or name that is used in the SIP number. For example, the subscriber's number: This email address is being protected from spambots. You need JavaScript enabled to view it.. If the IP address is set to '10.10.2.12' for the group of subscribers, then it is enough to enter: 110. If the IP address is not specified or another IP address is specified, you need to enter the SIP number completely.
In the list of number type, select SIP or Skype depending on what data you have entered in the Phone number box.
If for some reason, you wish to stop the call recording from the subscriber number, in the list to the right of the Phone number box, select Disable.
If the subscriber has several phone numbers, to add the second number and subsequent numbers, click the Add phone number button. A new phone number box appears, where you should repeat the above steps to enter the number.
In the Select subscriber group list, choose a group to which subscriber belongs. By default, there is the General group.
In the Email box, enter a subscriber’s email address. The address is used to provide the subscriber an access to his recorded calls.
In the Password box, enter a password that allows the subscriber initially to log on in the system to view and listen to the recorded calls.
To confirm the correctness of the password input, repeat the password input in the Confirm password box.
In the case that the subscriber is a group manager, when he logs in to the VoiceNib system, he can access to the recorded calls of all the members of this group. To specify the groups in which a subscriber is the manager, left-click when the focus is in the Subordinate groups box. A list of all available groups is displayed. Select the groups whose calls should be available for viewing and listening. Several subscribers can have access to the same group.
If you need to save some comments related to the subscriber, there is the Comment box. Enter the required data into it.
To save the entered data, click the Create button. The new data line is displayed in the subscriber table. An example of the Subscribers page with entered data is shown in Figure 6.4.8.
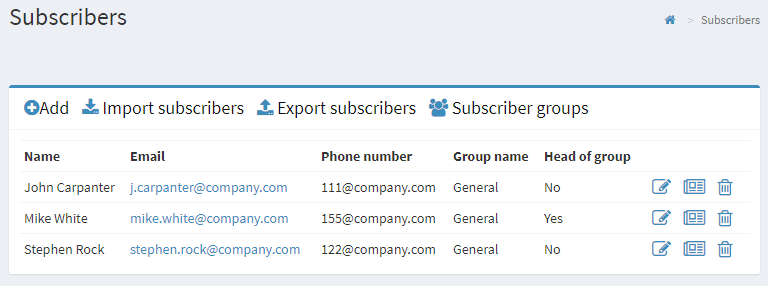
Figure 6.4.8
You can view, edit or delete the subscriber’s data.
To view the data of the desired subscriber, click on the ![]() icon in the row of the subscriber.
icon in the row of the subscriber.
To edit the data of the desired subscriber, click on the ![]() icon in the row of the subscriber.
icon in the row of the subscriber.
To delete the data of the desired subscriber, click on the ![]() icon in the row of the subscriber. Note that it is not possible to recover the data of a subscriber that has been deleted.
icon in the row of the subscriber. Note that it is not possible to recover the data of a subscriber that has been deleted.
If you need to transfer the system to another server, saving the subscriber database to a separate file, you can export subscribers’ data. To do this, on the Subscribers page, click the Export subscribers button. The Choose a document type window appears, where you can choose Excel or CSV file format. Select the desired format. A window will open for saving the file. Select the desired folder and save the data to the file.